| How to Run a POS Transaction with Partial Approvals - EMV |
The POS terminal is used to run payments, or transactions. |
|
|
|

| Step 1 |
Inform the cardholder of the VitalChek fee |
| Step 2 |
MAIN MENU: Select the Payment option by pressing the F1 button |
| Step 3 |
LOG ON TO THE POS TERMINAL: The POS Enter Operator ID screen displays. User enters ID and presses the green enter button. Note - if the Operator ID was entered incorrectly or does not have the authority for the transaction, an error message will be displayed
|
| Step 4 |
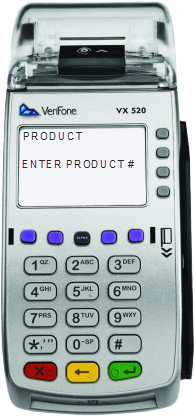
PRODUCT SELECTION: Select Product screen displays with available product options. Select Product by pressing the corresponding number on the keypad or use the purple action keys to scroll through the list of products. Press the green enter button when the correct product is highlighted. If additional products are available, the page up and down arrows will be displayed.
|
| Step 5 |
ENTER REFERENCE NUMBER: Reference Number screen displays (if applicable). Enter Agency defined Reference Number (if applicable) and press the green enter button. If Reference Number is not required, user can press the green Enter button to bypass Note: To enter alphabetic characters, press the corresponding number key and then the Alpha button.
|
| Step 6 |
ENTER AMOUNT: Enter Amount screen displays, enter the Payment Amount using the numeric keypad. Do not include the VCN Fee. The VCN Fee will be added automatically. Press the green enter button.
|
| Step 7 |
ADDITIONAL PRODUCTS: If Another Product screen displays, use the F1 (No), F2 (Yes) to select. No - continues the payment process. Yes - return to step 5 for each additional product.
|
| Step 8 |
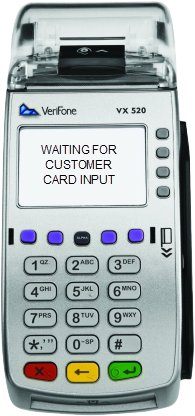
INSERT OR SWIPE CARD:
|
|
Step 8: EMV (Chip)
|
EMV Transaction -If the card has a chip (EMV) it must be inserted. Pin Pad displays Leave Card Inserted and then Remove Card. Terminal displays Receiving/Validating message.
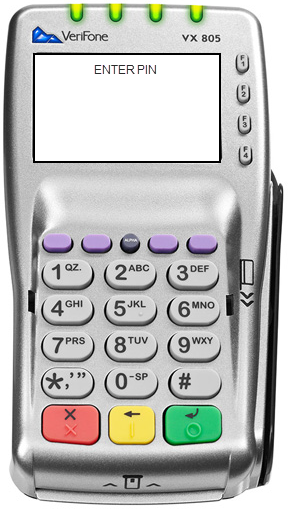
Debit - The pin pad prompts Enter Pin. Customer enters PIN and presses green enter key.
Credit - pin pad prompts for pin entry, press green enter key to bypass pin entry and proceed as Credit. |
| Step 9 |
FEE BREAKDOWN: Payment fees display, customer selects F4 (Yes) to process, F1 (No) to cancel. |
| Step 10 |
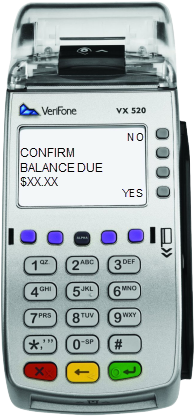
When the card does not have sufficient funds to cover the entire amount, the Balance Due screen displays with 3 options: 1. F1 Additional Card - selected if the customer has additional credit/debit/gift/prepaid cards to pay the remaining balance.
2. F3 Other - selected if the customer is unable to pay using additional card(s) and chooses to pay the remained with cash or check. Select F4 for Yes to Confirm the Balance Due amount, the receipt will print balance due to the agency. F1 (No) will return to the Balance Due screen.
3. F4 Void - selected if the customer chooses to cancel the payment and void the transaction, a void receipt will print.
|
| Step 11 |
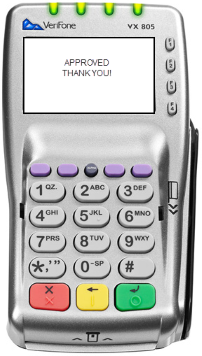
RECEIPT PRINTING EMV Chip transactions - Pin pad will prompt Remove Card and beep.
Once card is removed, approved message displays and Merchant Copy of the receipt automatically prints.
Terminal prompts Print Customer Copy? Select F4 for Yes to print and F1 for No.
Customer receipt prints
|