| How to Run a POS Transaction |
The POS terminal is used to run payments, or transactions. |
|
|
|
| Step 1 |
Inform the cardholder of the VitalChek fee |
| Step 2 |
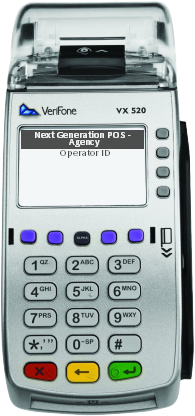
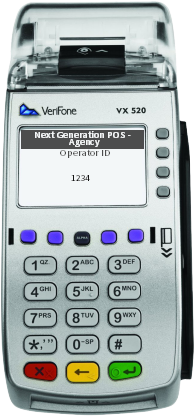
User inputs POS Operator ID and then presses the green enter button to logon to the terminal Note - if the Operator ID was entered incorrectly or does not have the authority for the transaction, an error message will be displayed
|
| Step 3 |
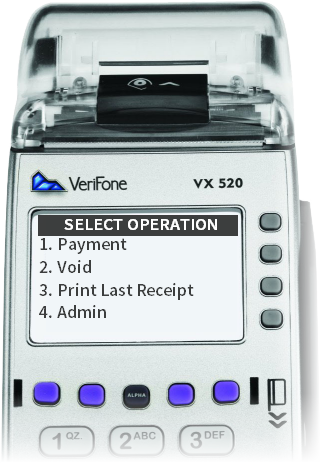
Select Operation screen displays
|
| Step 4 |
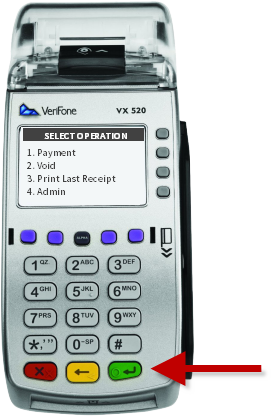
Select Payment option by pressing corresponding number on the pinpad then press the green enter button
|
| Step 5 |
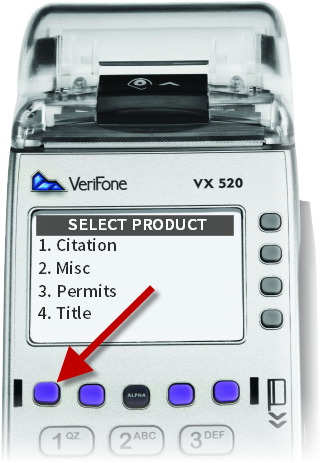
Select Product screen displays with available product options Note - agencies with multiple products use the purple key above the number 1 to scroll |
| Step 6 |
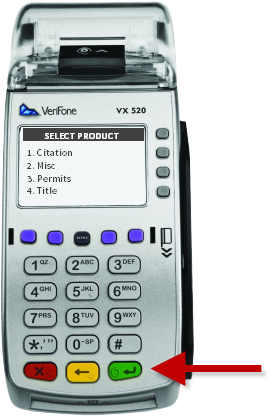
Select Product by pressing the corresponding number on the pinpad then press the green enter button For agencies with more than 10 product selections, press # for the first 1. Ex 10 = #0, 11 = #1, 12 = #2, etc
|
| Step 7 |
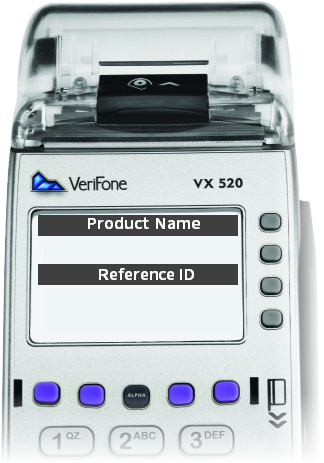
Reference Number screen displays (if applicable)
|
| Step 8 |
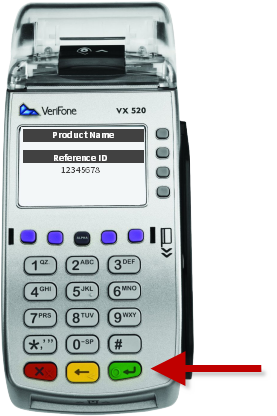
Enter Agency defined Reference Number (if applicable) and press the green enter button Note: Alphabetic characters are obtained by hitting a number field multiple times to scroll through. For example: for the letter "a", press the 2 color twice
|
| Step 9 |
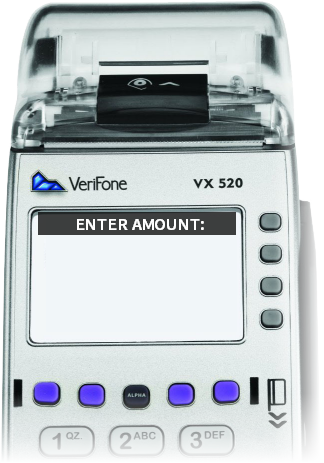
Enter Amount screen displays
|
| Step 10 |
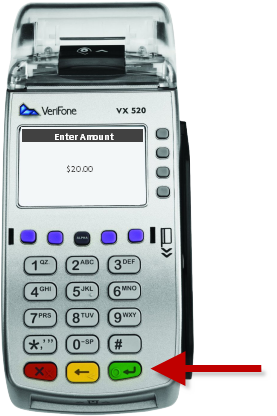
Enter the Payment Amount using the numeric keypad. Do not include the VCN Fee. The VCN Fee will be added automatically. Press the green enter button.
|
| Step 11 |
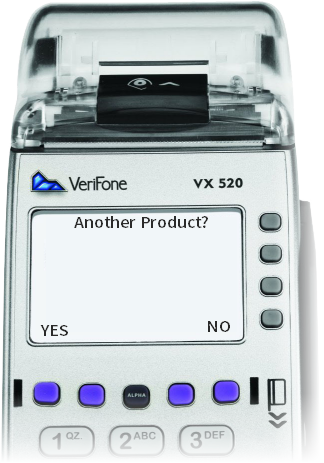
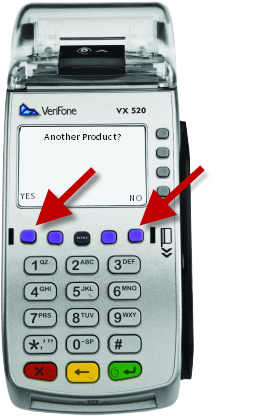
Another Product screen displays, use the purple buttons to select Yes or No. If Yes, return to step 5 for each additional product.
|
| Step 12 |
Select Yes or No by pressing the corresponding purple button
|
| Step 13 |
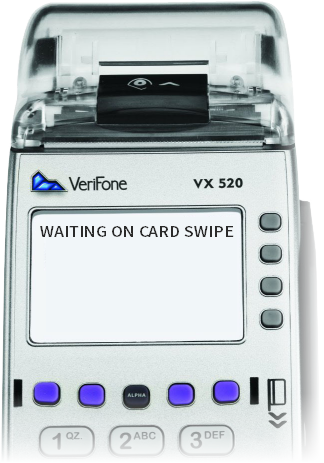
Waiting on Card Swipe screen displays on terminal
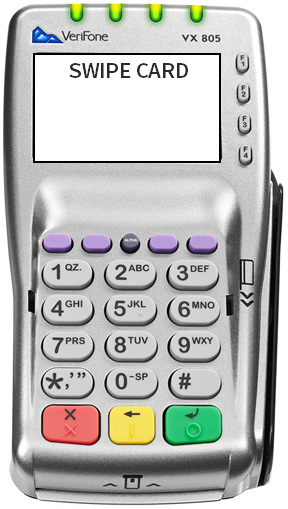
Pin pad prompts customer to swipe card
For help with card swiping errors see: POS Transaction Errors |
| Step 15 |
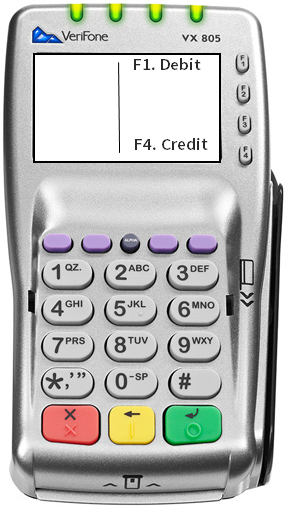
If applicable, the Debit/Credit screen displays on terminal and Pin Pad
|
| Step 16 |
Select Debit or Credit by pressing the corresponding F1 or F4 button
Note - If DEBIT is selected, the cardholder will be prompted to enter their PIN number on the PIN pad with terminal displaying: "Ask customer to enter PIN. Please Enter PIN"
|
| Step 17 |
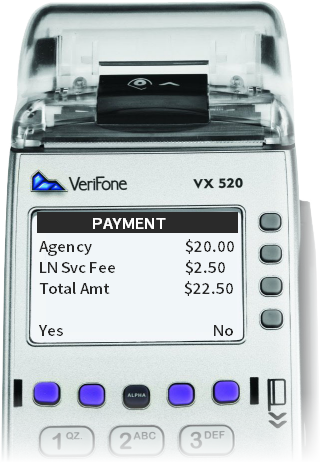
Payment screen displays on terminal
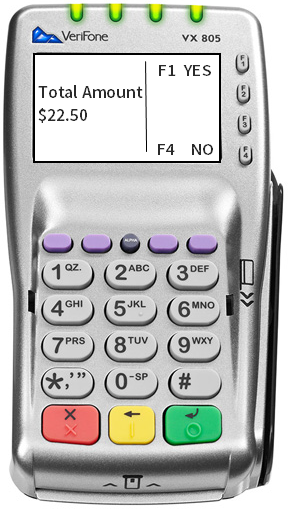
Total Amount screen displays on Pin Pad. Select F1 for Yes or F4 for No and press the green enter button.
|
| Step 18 |
Authorizing message displays on both Terminal and Pin Pad |
| Step 19 |
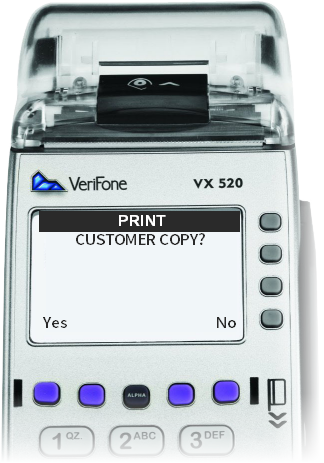
The Agency Receipt automatically prints and the Print screen displays on the terminal. Select Yes to print customer receipt and press the green enter key. Note - Printed on the receipt is the payment confirmation number and the agency reference number.
|


