


| How to Print Batch Receipts |
Receipts are created and printed using the Batch Receipts process Users must have a role of Clerk, Supervisor or Manager to be able to view and access Batch Receipts |
|
|
|
|
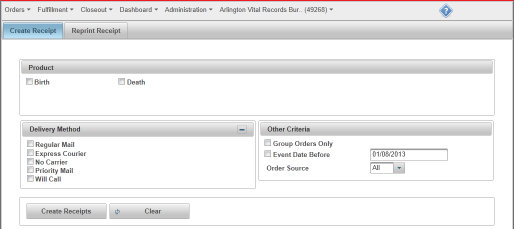
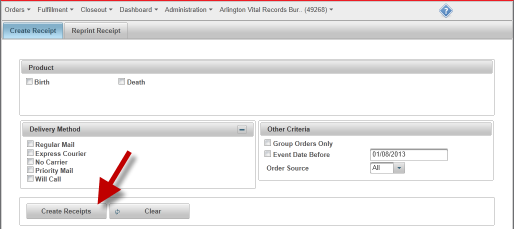
Step 1 |
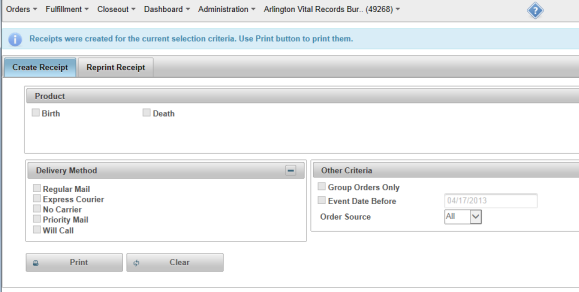
From the Fulfillment menu, select Batch Receipts. Opens on Create Receipt tab.
|
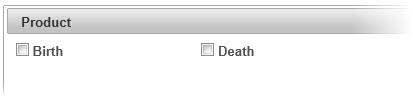
| Step 2 |
Select the Product(s) to include in the batch. Note - if user does not select any Products, all available will be included in the batch.
|
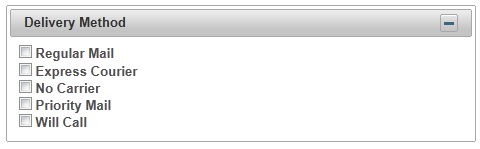
| Step 3 |
Select Delivery Method to include in the batch. Note - if user does not select any Delivery Methods, all available will be included in the batch.
|
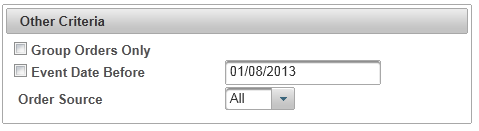
| Step 4 |
Select any Other Criteria. Note - if user does not select any Other Criteria, all available will be included in the batch.
|
| Step 6 |
Click Create Receipts button
Note - Once the user has clicked the Create Receipts button, all selection criteria (steps 2-4) will be locked and may only be changed after clicking the Clear button to clear the selections |
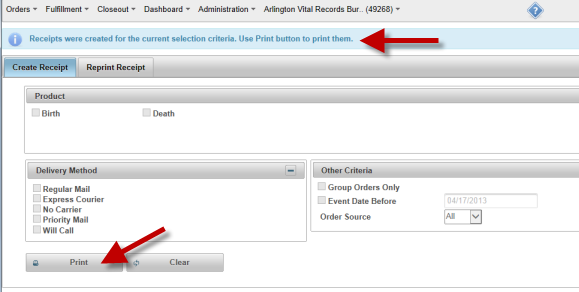
| Step 7 |
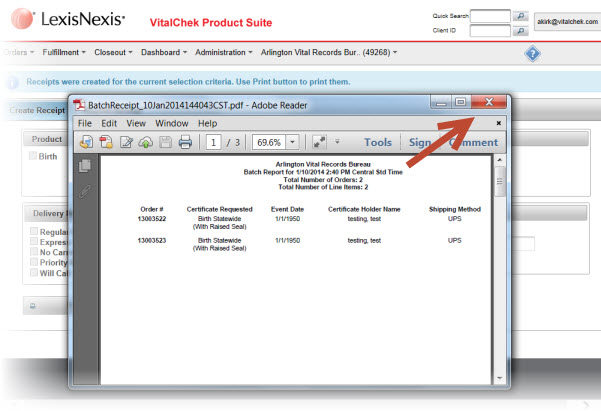
Batch Receipts are created and confirmation message displays, Create Receipts button is replaced with Print button. Click Print button to display receipts in .Pdf window |
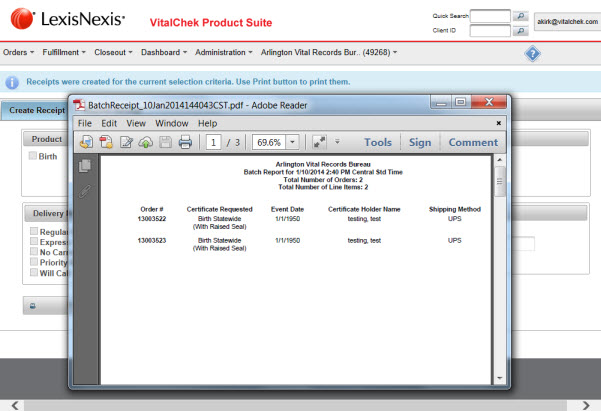
| Step 8 |
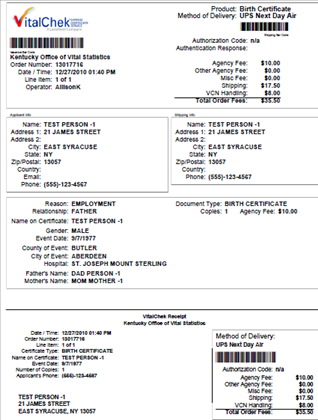
Receipts are displayed in a .Pdf
Scroll to view entire receipt
|
| Step 9 |
Click Print button to print receipts
|
| Step 10 |
Click red X to close out of the .Pdf
|
| Step 11 |
User is returned to VPS, Create Receipts screen
Note - If receipt criteria was selected (step 2, 3 or 4 above) - to print additional receipts with new criteria/selections - click the Clear button to clear current selections and then repeat steps 6 - 10. Previous selections will remained checked until the Clear button is clicked. |

 See Also
Fulfillment
Batch Receipts Overview