


| How to Add New Users |
Add New User screen contains information on VPS Users. Required information is highlighted yellow. Users must have a role of Administrator to be able to view and access Administration functions. |
|
|
|

|
Step 1 |
From the Administration menu, select User Maintenance. User Maintenance screen is displayed
|
| Step 2 |
Click Add New User button
|
| Step 3 |
Add New User screen in displayed. Required fields are highlighted yellow
|
| Step 4 |
Enter User ID; must be a valid email address
|
| Step 5 |
Enter User's First Name
|
| Step 6 |
Enter User's Last Name
|
|
note - Start Date defaults to current date, if another End Date is required, click in date field or click on calendar icon to display the calendar. Click on required date to select
|
|
|
note - End Date defaults to Dec 31, 2999. If another End Date is required, Click in date field or click on calendar icon to display the calendar. Click on required date to select
|
|
| Step 7 |
Enter a PIN number for users that will be operating a point of sale (POS) device. PIN must be 1 - 4 digits and unique; no other user in the agency may use the same number
|
| Step 8 |
Select a Role for the User by checking the box(es) next to the role. When choosing a role, determine what functions the user will perform in the agency. A User may have an Administrator role along with one other role (Manager-Supervisor-Clerk)
|
| Step 9 |
Available Agencies are displayed in the Available table on the left side. To add the User to an Agency, click Agency name to select it and click Add button To add to all Agencies displayed, click the Add All
|
| Step 10 |
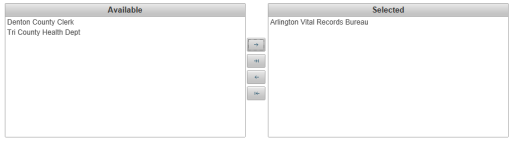
Selected Agency will be displayed in the right table |
| Step 11 |
Click Save button
|
| Step 12 |
Confirmation message that User is receiving an email to activate their user ID is displayed 
|


 to move it to the right table.
 button.
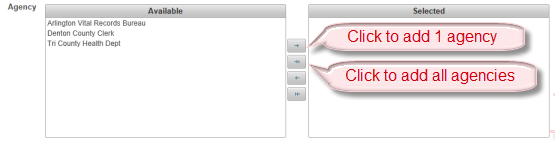

 See Also
Getting Started
How to Login to VitalChek Product Suite
How to Create a New Password
Tutorials
Administration Tutorials